
Whether you wear a nightguard to stop clenching and grinding, a clear retainer to prevent movement after orthodontic work, or a denture to replace missing teeth, it’s important to know how to take care of your appliance.
Although we will go over care instructions at your delivery appointment, we understand its a lot of information to take in, especially if this is your first dental appliance.
This page will go over the different instructions for appliances we offer in-office. Of course, if you have a specific question and don’t find the answer here, please give us a call and we’d be happy to go over them with you.
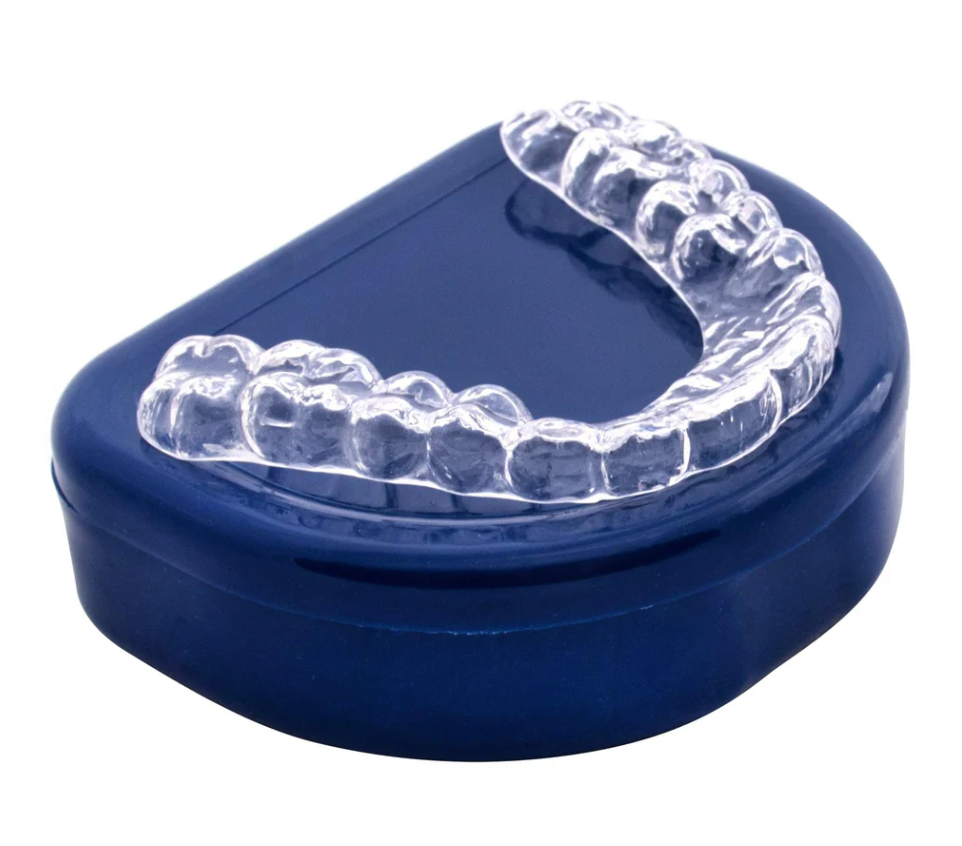
Nightguard
(occlusal guard)
It is important to complete your entire nighttime homecare routine before putting in your nightguard as your nightguard may restrict saliva flow between your teeth. We will always encourage our patients to brush and floss before bed, but even more so while wearing a nightguard or any nightly appliance as saliva flow can be reduced, allowing bacteria to flourish in between your teeth leading to dental cavities.
When you take your nightguard out in the morning, rinse it off in the sink and set it in its designated case (which we provide at the delivery appointment), setting it upside down so the water can drain out (as shown in picture above).
At your nightguard delivery appointment, you should have been given a special two-sided brush to keep it clean. Ideally, you should brush your nightguard after every use. Our saliva has minerals and over time, it can make your nightguard look cloudy or yellowish. Gently brushing the inside of your nightguard after every other use can help reduce that cloudiness and keep it looking clean. You don’t need to brush too aggressively, just gently with lukewarm water should suffice.
Once or twice a week, you can add anti-bacterial soap (like Dial) to your routine.
Do not use toothpaste to brush your nightguard as most toothpastes have micro-abrasive ingredients which are good for brushing your teeth but will just scratch your nightguard and give it a cloudy appearance over time. Likewise, do not use your regular toothbrush to keep your nightguard clean. The brush you were given is specifically made with coarse, rounded bristles to clean nightguards without scratching them whereas your toothbrush likely has softer bristles that work better getting in between your teeth but will only scratch your nightguard rather than clean it. On top of that, if you are cleaning your nightguard with soap, using soap on your regular toothbrush is not going to taste good next time you need to brush your teeth. Just use the provided nightguard cleaning brush as instructed.
The type of nightguard we offer is made of a dual-layered material meaning the outside layer is harder while the inside layer is a little softer. Because of this, soaking your nightguard is highly discouraged as over time, those two layers will separate and can damage your appliance. Soaking it in mouthwash is not going to do anything to keep it clean either, all that will change is the color of your nightguard itself. The best way to keep it clean is brushing it regularly with the provided cleaning brush, using anti-bacterial soap, and letting it air dry as directed above.
You can also bring it in with you when you come in for dental cleanings and we will clean it in our office.
The material your nightguard is made out of is temperature sensitive. Do not leave it in a hot car, microwave it, run it through the dishwasher, or try boiling it as all of these things will warp your nightguard and it will no longer fit properly.
If you have any issues with how it fits, please contact us to schedule an appointment so we can adjust it.
Because your nightguard is custom made for your teeth, you might feel a little bit of pressure when you first put it in but you should get used to it after a couple of minutes. The same can be said when you take it out in the morning. Your teeth might feel a little “off” for a couple of minutes but they should go back to normal relatively quickly. Think of it like putting on a new pair of shoes, it might feel tight for a short amount of time before you get used to wearing them and afterwards, your feet will feel different once you take them off.
If you have one or two teeth that, after 10 minutes, still feel off or even a little achy after wearing your nightguard, give us a call so we can evaluate and possibly adjust the fit.
Over time, your nightguard will become easier to put in and take out. If you have any issues with wearing it, please call to make an appointment so we can evaluate how to improve the fit.
Keep your nightguard away from any pets! Pets love to chew on things that smell like their owners; shoes, socks, towels, and especially nightguards. Make sure your nightguard is safe either in its case, in a drawer, or another spot they can’t get to.
As mentioned previously, try to bring your nightguard with you when you come in for your dental cleanings. Not only will we clean it for you while you’re here, we also want to make sure it’s still fitting correctly, you’re not having any issues while wearing it, you’re grinding it evenly and so that we may answer any questions you have.
The purpose of the nightguard is to protect your teeth and that only happens if you wear it! If you have any issues with caring for your nightguard or with how it fits, please give us a call so we can evaluate it.
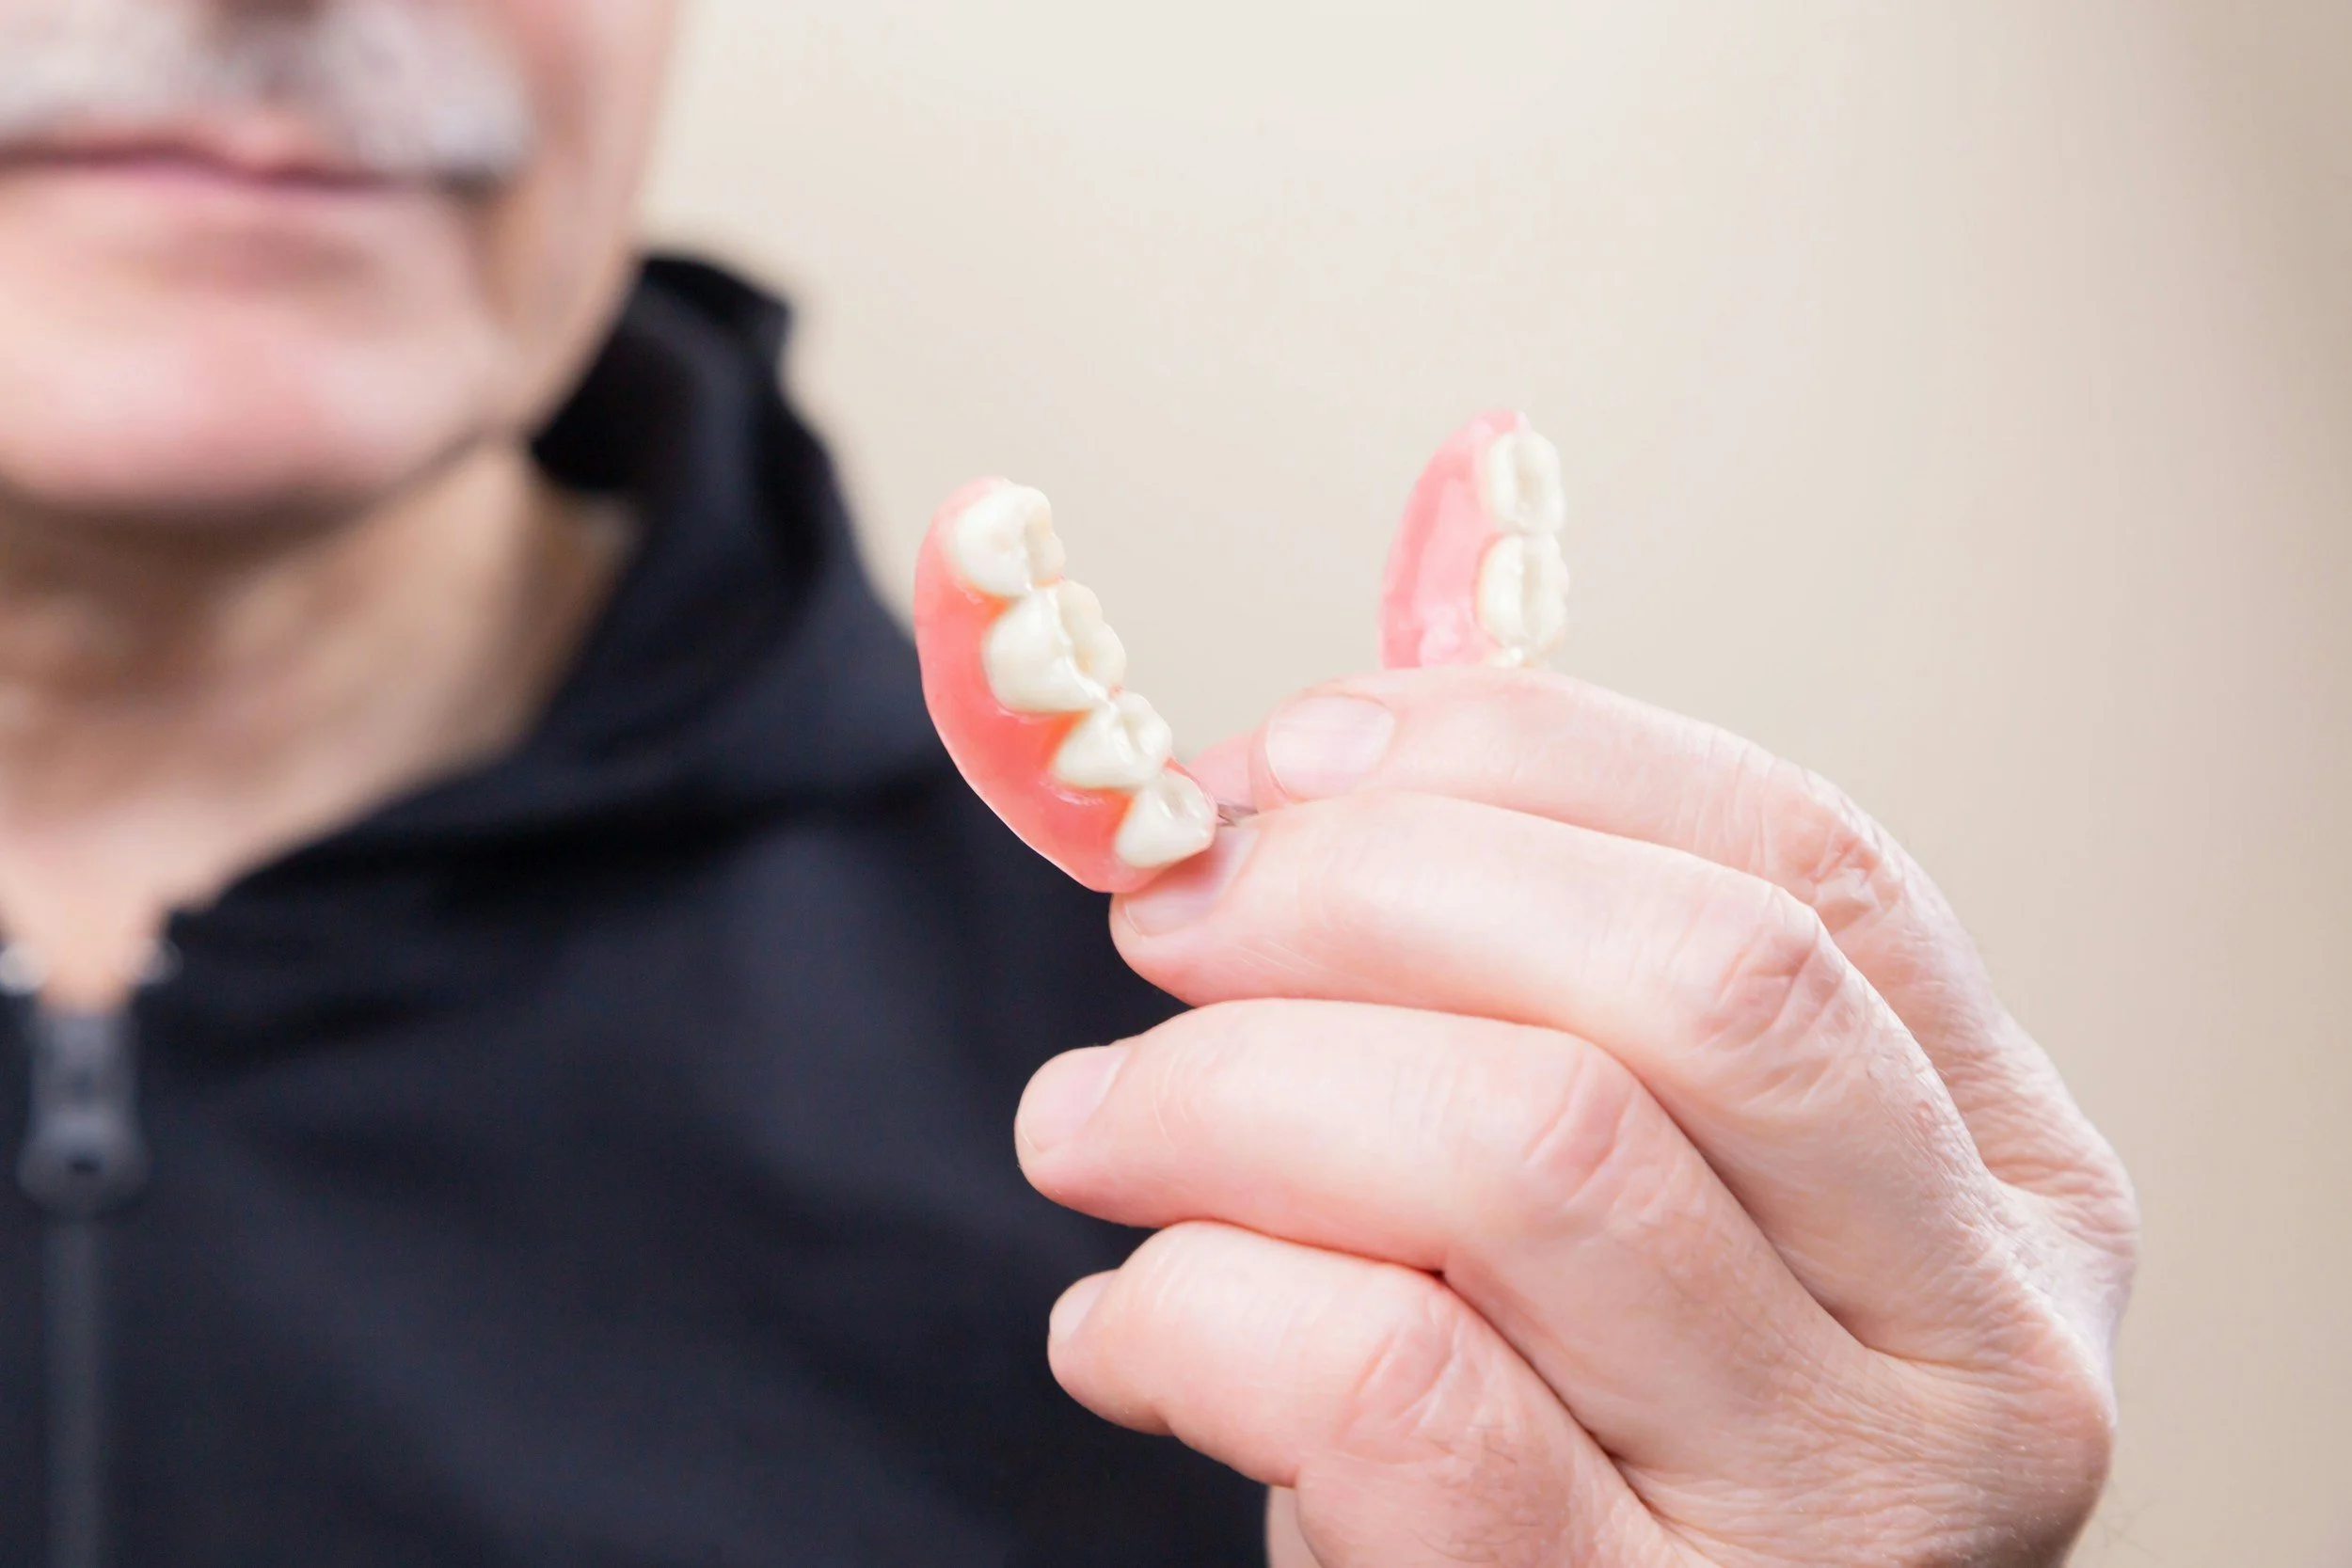
Partial or Full Dentures
Although there are a number of different materials available for partial or full dentures, their care instructions are relatively the same and are easy to follow. Below are the recommended tips and instructions to keep your denture clean and functioning. Of course, if you have any questions regarding your specific denture, you can always call or schedule an appointment and we can go over your case directly.
It is important to take your partial or full denture out at the end of the day. This allows your gums time to relax, allows saliva to flow everywhere in your mouth, and reduces the risk of injuring yourself or breaking your denture while you’re sleeping.
When you are finished wearing your denture, rinse it thoroughly with lukewarm water, removing any food debris or staining from around the teeth and pink gum area of the appliance with the special brush provided to you by our office.
If additional soaking is required, you might benefit from the use of denture cleaning tablets (such as Polident or Efferdent). The instructions for use should be on the box they come in, if not just dissolve one tablet in a glass of lukewarm water and allow your denture to soak for approx 5-10 minutes before removing and brushing and/or rinsing any additional debris.
Let your denture air dry overnight, do not soak it long-term.
Additionally, do not soak your denture in mouthwash as it will do nothing to aid in the cleanliness of your appliance. The teeth in your denture are made of an acrylic material and they may change to the color of your mouthwash if left for a prolonged period. Simply use the provided denture cleaning brush and brush your denture until no food or stain remains.
If you use a denture fixing paste (such as Fixo-Dent or Poligrip), make sure the fixing paste is thoroughly removed from your denture at the end of each night. Do not put new layers of denture paste on top of old layers as this can harbor bacteria and is not good for you or your denture.
If your denture is not fitting right, if you are biting one area first, it’s putting too much pressure on your remaining teeth or gums, it’s loose or rocking when you eat or talk, give us a call so we can evaluate your denture and possibly adjust it.
If you were given a temporary partial for a front tooth (also referred to as a “party tooth”), it is important to not eat with it in as there is a risk of swallowing or breaking your partial. If you need to take your partial out to eat, make sure you have a case or somewhere safe to place it in while not in use as these appliances can easily be lost, broken, or discarded, especially while eating out at a restaurant.
Because every case is different, there may need to be modifications to your denture or your homecare routine as you continue to wear it. With the inclusion of implants, adding additional teeth or clasps to provide a better fit, or natural changes to the appliance over time, it’s important to have your denture regularly evaluated to ensure it is fitting and functioning as it should. If there is something preventing you from wearing it, do not hesitate to let us know. Dentures are an investment, they can improve your smile, restore chewing function, and can improve your quality of life just by being worn but they can take a little bit of time to get used to and will never replace your natural teeth. It’s important to care not just for your denture but for your remaining teeth as well, let us work together to create healthy habits to perfect your dental homecare routine so we can maintain the entirety of your smile.
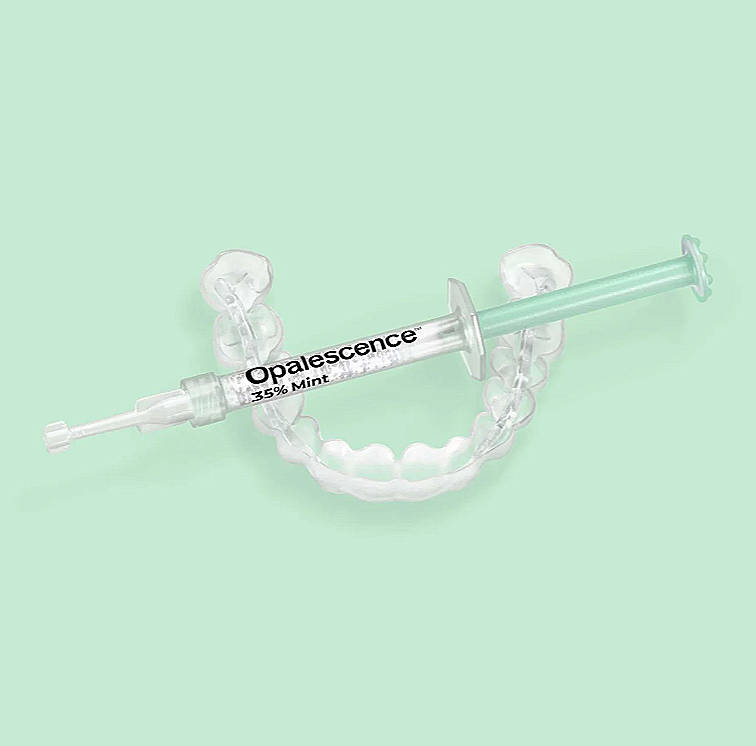
Whitening or Fluoride Trays
Whitening or Fluoride trays are incredibly flexible custom trays that are specifically designed to fit your teeth and only your teeth. Each tooth has a custom made well to allow for the gel material to sit comfortably against your tooth and flow where it’s needed. Because these trays are so flexible, they are very easy to clean and can be stored almost anywhere for regular use.
To clean your trays, simply run them under lukewarm water until any remaining gel is removed. Then, simply store them in the provided plastic case and let them airdry until you’re ready for your next use. No additional brushing or cleaning required. It’s that easy!
The trays are very susceptible to heat as they are made of a special thermoplastic material so do not leave them in your car, forget them in a suitcase, boil them, run them through the dishwasher or microwave them as they will change shape and warp to no longer fit correctly.
To use your trays (whether for whitening gel or fluoride gel), simply fill your trays as directed and place them on their appropriate arch. You may need to squish the trays against your teeth to allow them to sit completely, being careful to wipe away any access material that flows outside the tray. Make sure to complete your entire homecare routine prior to wearing your trays including brushing and flossing to allow the gel to flow where it needs to.
For whitening trays, dispense the gel inside the tray on the outer surface; placing the amount approximately the size of a grain of rice in each well. Depending on the size and shape of your teeth, more or less gel may be required. After a couple of uses, you should be able to tell how much gel is required for your specific teeth. As mentioned above, press the trays against your teeth and wipe away any excess gel from your gumline as the whitening gel can lighten or irritate your gums. Whitening gel will not change the shade of any existing restorations such as fillings or crowns, so no need to dispense whitening gel in those areas (they should be marked off on your trays for you).
When you are finished wearing your whitening trays, remove and rinse them off as directed above. Brush your teeth with a sensitive toothpaste (such as Sensodyne) and do not eat or drink anything for at least 30 minutes to allow your teeth time to settle. During this time, your teeth become more susceptible to staining and can reverse the work the whitening gel just did. Avoid anything that can cause staining for that first half hour such as coffee, wine, black or green tea, ginger, or turmeric. Whitening your teeth can cause sensitivity, that is why sensitive toothpaste is recommended following each whitening session. If you have any questions regarding the progress of your whitening, the strength of your whitening gel or length of time to be worn, or any other questions, feel free to give us a call and we can go over your case with you.
For fluoride trays, dispense a generous amount of fluoride into the bottom of your trays. As mentioned above, press the trays against your teeth and wipe away any access material. Fluoride is non-toxic and safe to swallow at a low concentration, but any additional fluoride that has flowed outside of the tray is not needed as the tray’s purpose is to keep the fluoride on and around your teeth to strengthen and aid in remineralization. After a couple of uses, you should be more familiar with how much gel to place in the tray as to not waste an excessive amount.
When you are finished wearing your fluoride trays, remove and rinse them off as directed above. You can brush your teeth to remove any residual fluoride gel or rinse with fluoride mouth rinse or water, there is no need to wait to eat or drink following fluoride tray use. Because the purpose of fluoride trays is to maintain a higher concentration of fluoride in close proximity to your teeth, if you find yourself running out of fluoride gel or have an issue with the flavor or other active ingredients, you can use a fluoride toothpaste inside the tray.
Fluoride trays are made specifically to allow fluoride to sit around all surfaces (especially around the gumline) and in between your teeth. Because of this, we ask that you do not use whitening gel in these trays. Not only would it require an excessive amount of whitening gel to fill your tray (which would be a waste of gel), but the customized wells around each tooth are made differently for both whitening and fluoride trays. When using whitening gel in fluoride trays, you risk the potential of the gel not flowing where it is needed which may result in gum irritation and inadequate whitening.
If you have any questions or concerns regarding either type of tray, if you want to go over these instructions in person, or any other issues, feel free to call us to discuss it over the phone or schedule an appointment with us. You can also bring your trays in when you come in for cleanings or treatment and we can discuss at that time.
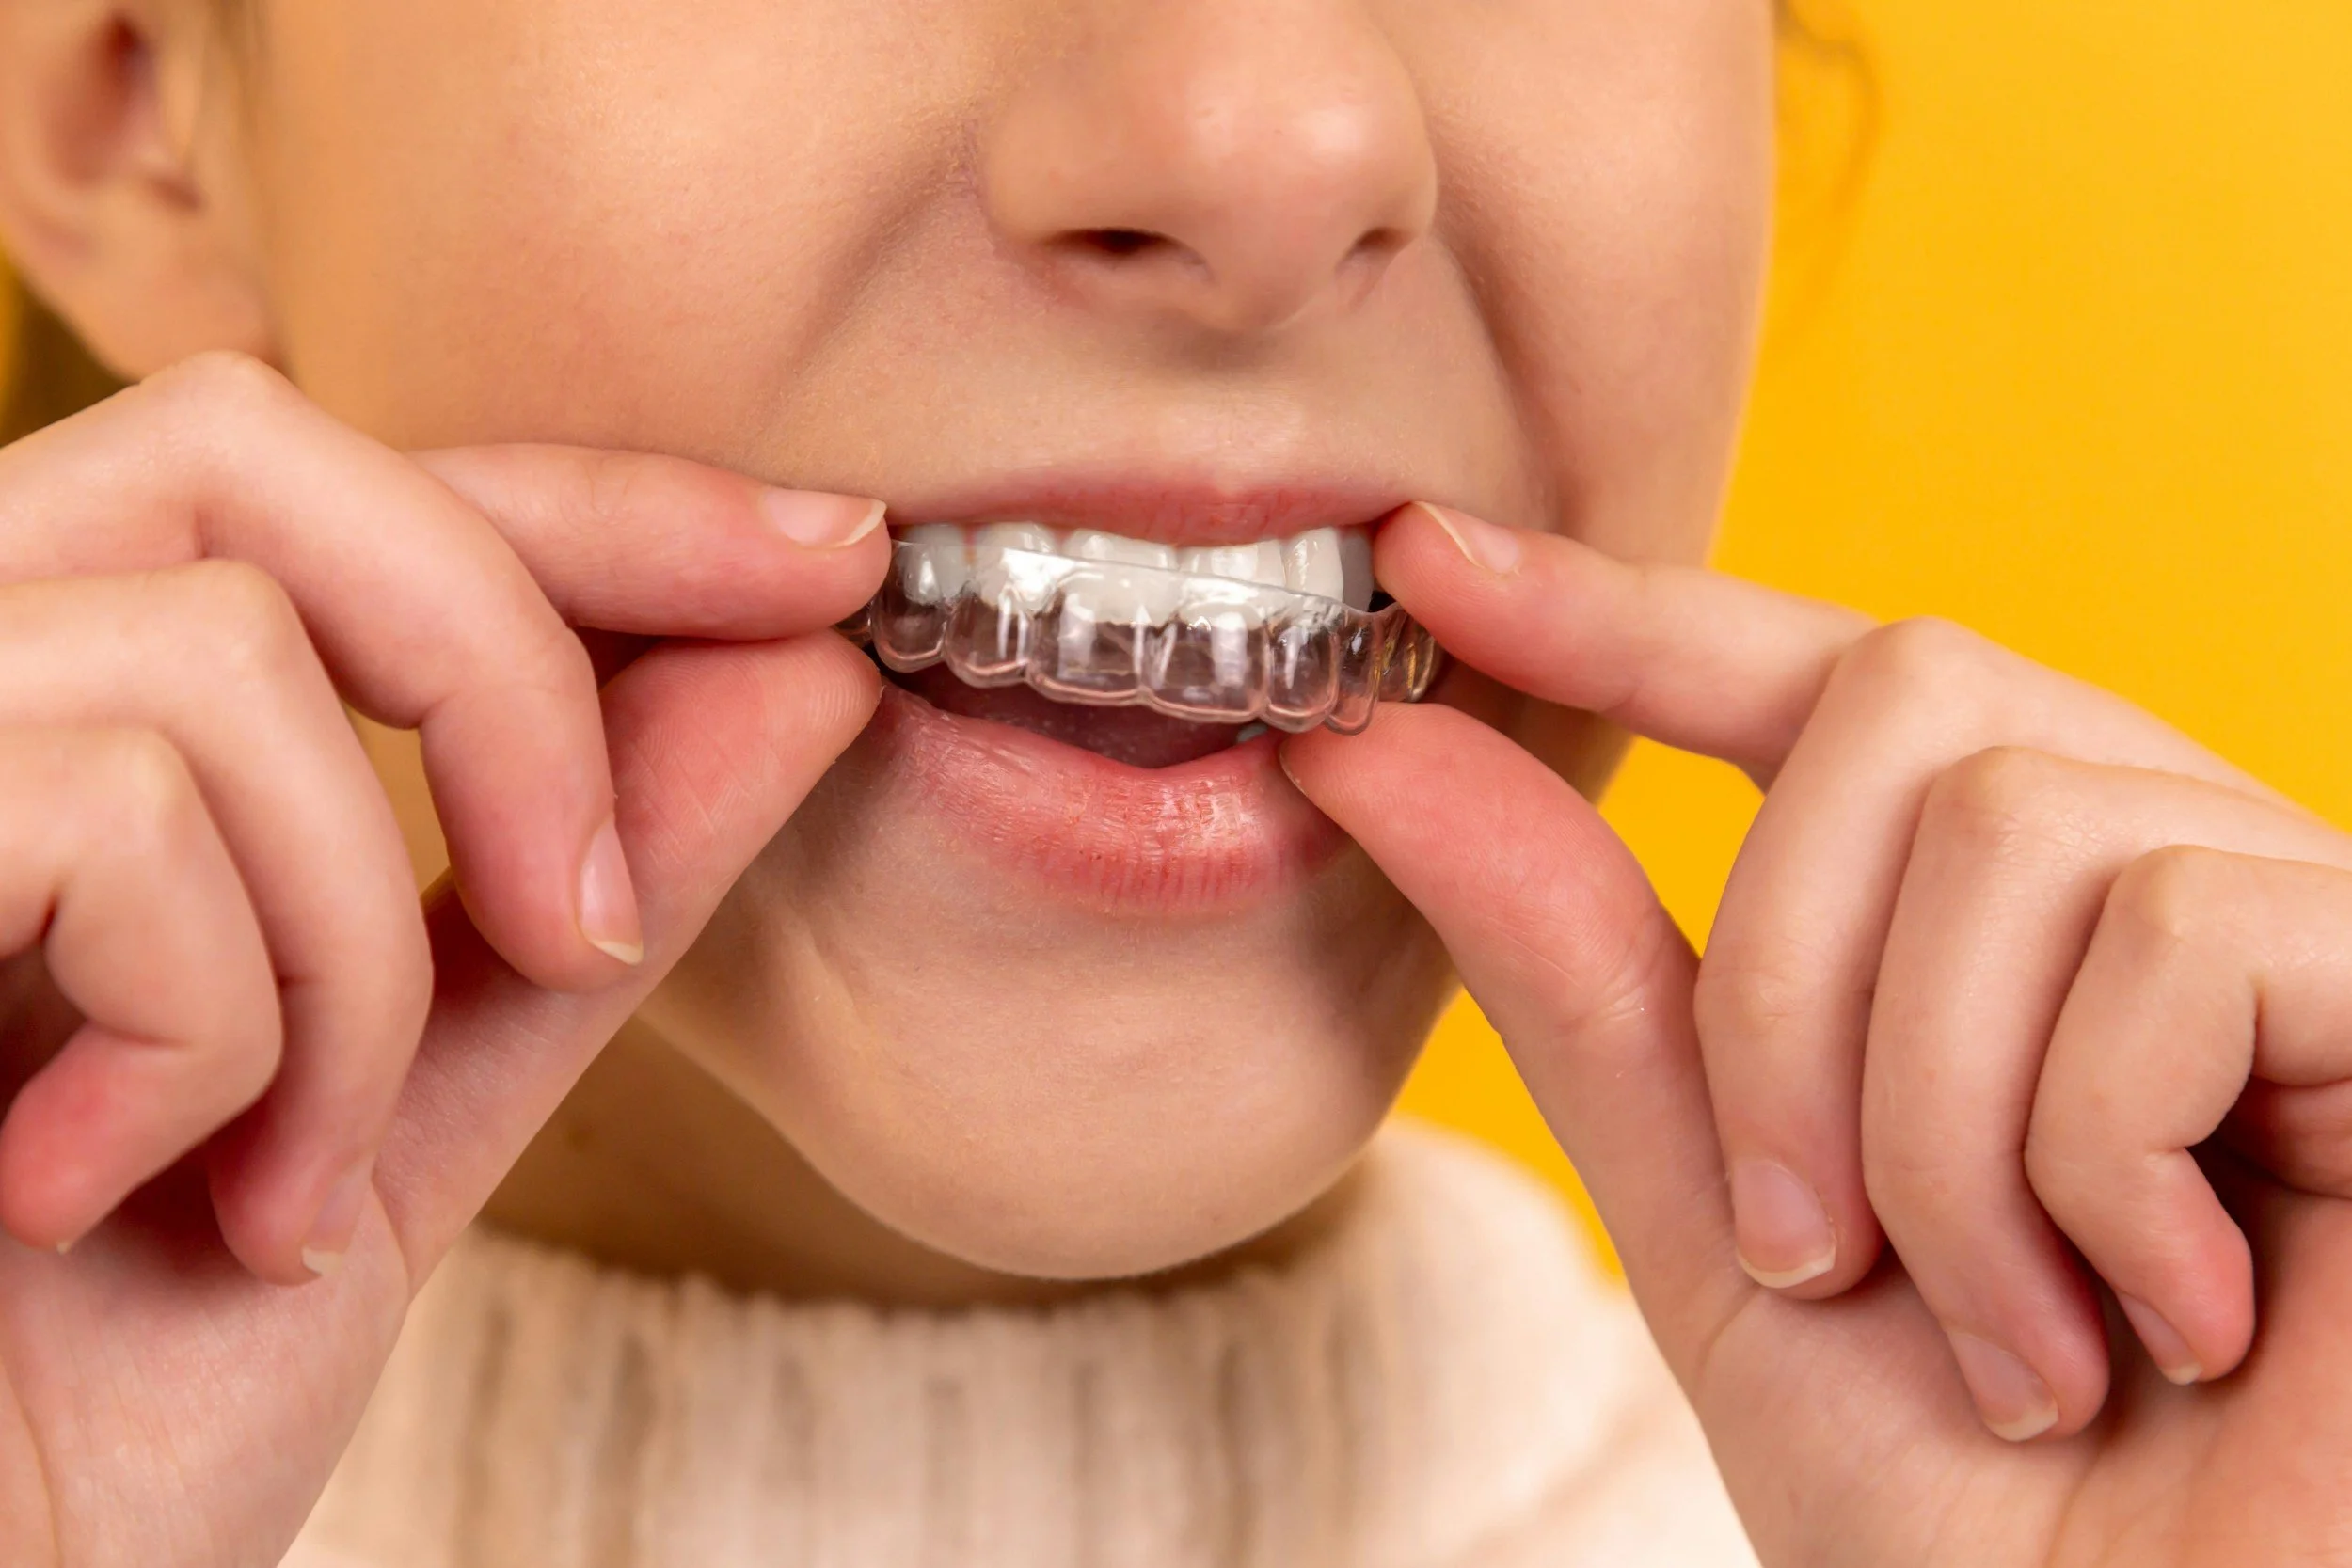
Clear Orthodontic Retainer
It is important to complete your entire homecare routine before putting in your clear retainer as your retainer may restrict saliva flow between your teeth. We will always encourage our patients to brush and floss before bed, but even more so while wearing a retainer (or any nightly appliance) as saliva flow can be reduced, allowing bacteria to flourish in between your teeth leading to dental cavities.
If you have been instructed to wear your retainer throughout the day, remember to take out your retainer prior to eating or drinking anything besides water. Not only is it uncomfortable, but it can damage your retainer, causing cracks in the material and preventing a proper fit. It’s important to keep track of where your retainer is while you’re not wearing it. Make sure to bring your retainer case with you so you have a safe spot to store it while not in use. Leaving your retainer on a plate or on a napkin can result in accidental disposal of your retainer and no one wants to go dumpster diving to find their missing appliance!
When you take your retainer out after nightly use, rinse it off in the sink and set it in its designated case (which we provide at the delivery appointment), setting it upside down so the water can drain out (see example below).
At your retainer delivery appointment, you should have been given a special two-sided brush to keep it clean. Ideally, you should brush your retainer after every use. Our saliva has minerals and over time, it can make your retainer look cloudy or dirty. Gently brushing the inside of your retainer after every other use can help reduce that cloudiness and keep it looking clean. You don’t need to brush too aggressively, just gently with lukewarm water should suffice.
Once or twice a week, you can add anti-bacterial soap (like Dial) to your routine.
Do not use toothpaste to brush your retainer as most toothpastes have micro-abrasive ingredients which are good for brushing your teeth but will just scratch your retainer and give it a cloudy appearance over time. Likewise, do not use your regular toothbrush to keep your retainer clean. The brush you were given is specifically made with coarse, rounded bristles to clean retainers and other oral appliances without scratching them whereas your toothbrush likely has softer bristles that work better getting in between your teeth but will only scratch your retainer rather than clean it. On top of that, if you are cleaning your retainer with soap, using soap on your regular toothbrush is not going to taste good next time you need to brush your teeth. Just use the provided appliance cleaning brush as instructed.
There is no need for any additional cleaning equipment, just brush and rinse your retainer and let us know if you have any questions or concerns regarding homecare.
The material your retainer is made out of is temperature sensitive. Do not leave it in a hot car, microwave it, run it through the dishwasher, or try boiling it as all of these things will warp your retainer and it will no longer fit properly.
If you have any issues with how it fits, please contact us to schedule an appointment so we can adjust it.
Because your retainer is custom made for your teeth and fabricated to prevent your teeth from shifting, you might feel a little bit of pressure when you first put it in but you should get used to it after a couple of minutes. The same can be said when you take it out in the morning. Your teeth might feel a little “off” for a couple of minutes but they should go back to normal relatively quickly. Think of it like putting on a new pair of shoes, it might feel tight for a short amount of time before you get used to wearing them and afterwards, your feet will feel different once you take them off.
If you have one or two teeth that, after 10 minutes, still feel off or even a little achy after wearing your nightguard, give us a call so we can evaluate and possibly adjust the fit.
Over time, your retainer will become easier to put in and take out. If you have any issues with wearing it, please call to make an appointment so we can evaluate how to improve the fit.
Keep your retainer away from any pets! Pets love to chew on things that smell like their owners; shoes, socks, towels, and especially nightguards. Make sure your retainer is safe either in its case, in a drawer, or another spot they can’t get to while you’re not wearing it.
The purpose of the retainer is to protect your teeth and prevent movement, that only happens if you wear it! If you have any issues with caring for your retainer or with how it fits, please give us a call so we can evaluate it.
For clear retainers with fake teeth (also referred to as a “party tooth”) while we await healing, the care instructions are the same as a regular retainer. Just make sure not to bend or twist your retainer while cleaning as it could result in the fake tooth becoming loose and no longer fitting the retainer.